
For 18 months I sat in the sunny Gold Coast office of the surf magazine, watching the palm trees out the window and looking for a change in wind direction that signalled “down tools” across the office and a race to the Burleigh Point, or mid-Gold Coast beachies. But the whole time I was sitting in board shorts and thongs and enjoying the security (and paycheque) of full-time employment, I was more often than not dreaming of sub-zero temperatures, icy faceshots and the quiet solitude of hiking through the backcountry with a camera in hand. If there was one major gripe I had with what many would consider a dream job, it was that as the Online Editor for a major surf magazine, I just didn’t get enough time to follow my true love: snowboarding.
So when I left the magazine, the first thing I did was book a trip to Japan. I wanted back in the game … and with four weeks in peak pow season, the game was sure to be on.
Dane Tiene had teamed up in Niseko with the kiwi boys, filming their webisode project across the island of Hokkaido, Japan Journals. And although I wasn’t able to meet up with ol’ mate Dane before he flew out, Nick Hyne and Nick Brown were more than happy to have me tag along and shoot some snaps with Connor Harding and filmer Heath Patterson.
It’s always a pleasure to work with the kiwis, as every one of them is just so chilled, friendly … and willing to throw down at every opportunity. And with Japan Journals, these boys are onto a good wicket, producing some great snow-travel-themed web edits full of banging tricks with some great backing from their sponsors.
Veteran shredder Nick Hyne has been to Japan more than a dozen times after first visiting on a high school exchange program, and so I had no doubt that he would have the locations dialled. And so for two days in late February the boys picked me up in Niseko in their Rhythm Snowsports-supplied van to shoot a backcountry jump hidden not far up a valley in the mountains halfway back to Sapporo, and a pillow-line cliff band outside Niseko.
Check out the jump we shot at 3:15 in this Japan Journals episode.
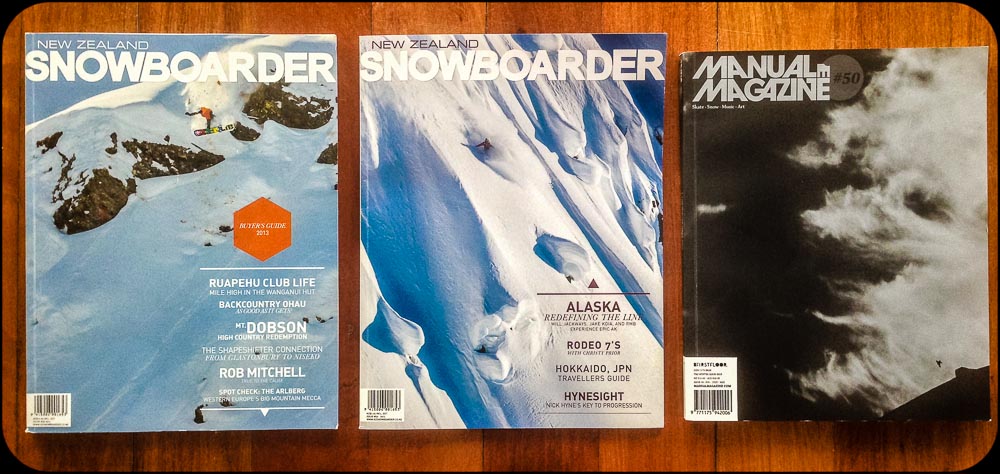
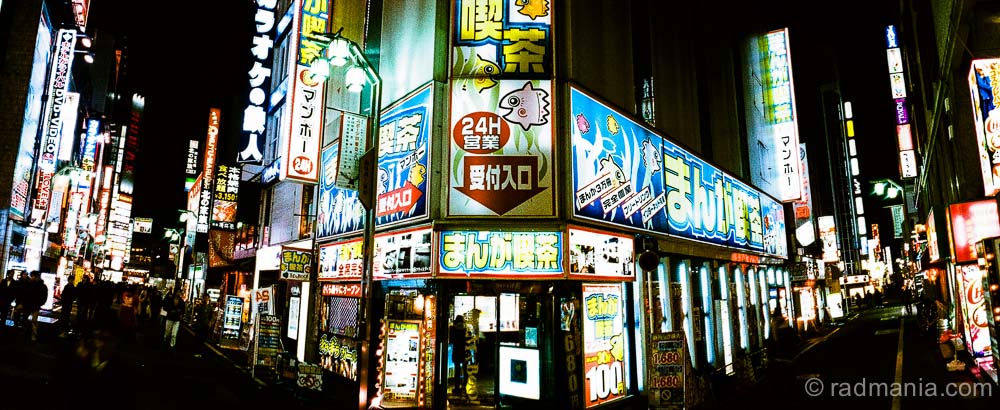
While it might have been just another couple of days in front of the camera for the boys, for me it was quite a successful two day return to the snowboard photography game. The great li’l shred magazine from the other side of the Tasman, NZ Snowboarder, was looking for some shots of Hyner, Browner and Connor and I managed to have a couple of shots published full-page, as well as a double-page spread with one of my Shibuya Crossing 35mm film panoramas, and a couple more shots throughout the magazine’s two issues of the 2013 winter. And through Nick Hyne I was able to tee up one of my shots being used as a full page ad in the skate and snow mag, Manual Magazine.
Not a bad outcome for two day’s shooting, if I do say so myself!
And with another snow trip booked (back to my second home, Lake Tahoe) for this February, I can say: it’s good to be back!
Click on the photos below to open them up in a full size gallery, and take a look at the finished results…

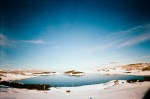
Yep … it was pow season in Niseko during February 2013!

On the road with Japan Journals. Kutchan, just outside Niseko.

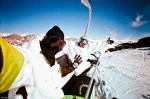
Pulled over somewhere on the highway.

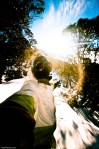
Hiking to the goods…

Ahhh, the serenity!

Jump building with the Japan Journals boys.

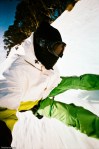
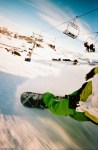
Nick Brown warming up with a frontside 360.

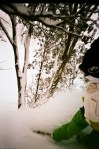
Connor Harding dodging branches while he gets close to check out the Niseko tree-living wildlife (Heath Patterson).

It doesn’t always go to plan. Nick Brown bailing mid air.

Nick Hyne’s wise words alongside my photo in NZ Snowboarder Issue 58.

Double-back flip from Nick Hyne. You can see the front-on angle in the video above at 3:24.

Full page for Connor Harding.

Booost! Connor Harding launches.

Nick Hyne styling a melon on this pillow drop.

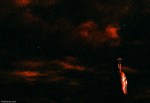
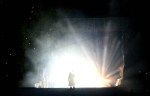
Back-lit vapour trail as Connor Harding bounces off Niseko pillows.

Double pager in NZ Snowboarder Issue 59.

Connor Harding dodging millions of fat Hokkaido flakes on this frontside 540. Check out the footage at 3:28 in the video above.

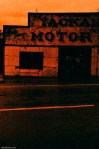
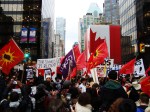
Shibuya Crossing shot with a Russian-made Horizon Perfekt swing-lens pano-camera, on cross-processed 35mm Fuji Provia 400 film.

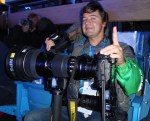
When it snows, it pukes. We waited for what seemed like ages (check the snow accumulation on my camera bag) for a window of semi-sunshine to shoot the pillow line Browner had in mind. It was worth the wait to see the shot in the magazine…

Nick Brown gettin’ ‘er done in NZ Snowboarder issue 59.

Droppin’ bombs on Niseko backcountry pillows.

Nick Hyne advertising his Ride Snowboards Machete GT full page in Manual Magazein issue 50.

Nick Hyne launching and landing this frontside double cork 900.

Looking out from the frozen Rhythm Snowsports van back in Niseko-Hirafu.
Wanna see more from Japan? Take a look at my landscape and lifestyle photos from Japan here, and my iPhoneography from Tokyo here and Kyoto here.
Follow Japan Journals on Facebook here for all their latest wintry adventures.


